In the world of refinishing, this is by far the most important preliminary step. After years of use, golf clubs will get beat up, and in order to make them appear “new,” it is important to remove these signs of use. When I first began learning how to refinish golf clubs, it took me a while to learn how to do this. There aren’t many tutorials out there specific to the technique that is shown in the video below. Anyways, this is the first step in ANY refinishing process.
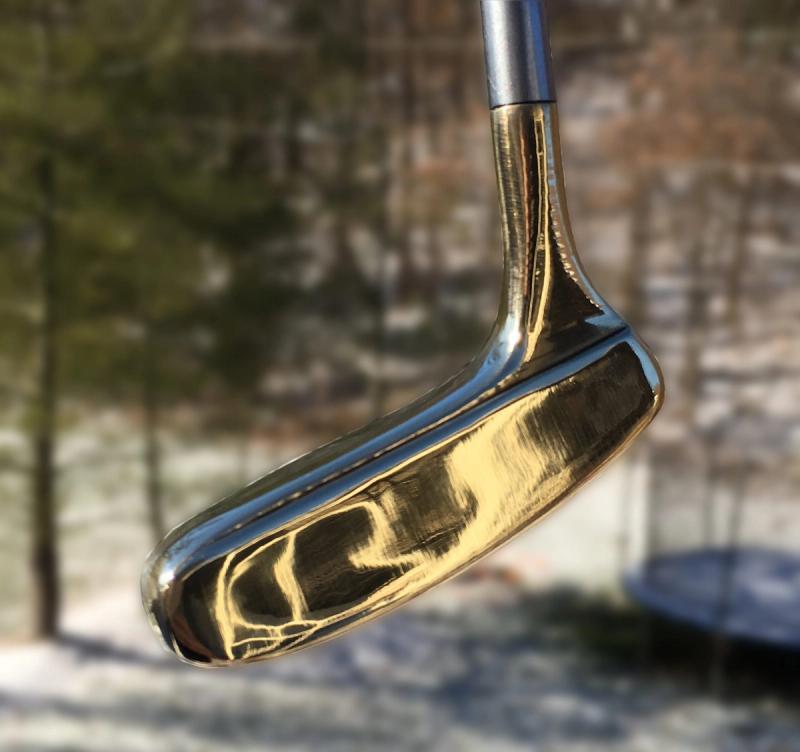
The second half of the video walks you through the polishing process, which is commonly used for refinishing vintage putters.
Before Starting This Tutorial, Your Club Must
Materials Needed
- For removing nicks and dings
- Protective Gloves (preferably not baggy ones like I’m unfortunately using in the video) and Eye-wear
- 6″ Bench Grinder/Buffer
with 1/2″ arbor holes (the cheapest and most readily available deburring and polishing wheels fit are 6″ in diameter with 1/2″ arbor holes)- There is a difference between a “bench grinder” and a “bench buffer”. A bench grinder is generally used for grinding/sharpening metals, and thus, has guards on it. If you buy one of these, you may consider removing the guards (at your own risk). A bench buffer is for polishing wheels and is not as protective. Most bench buffers will be able to handle a deburring wheel, but they are not made for it.
- The ideal setup would be using the bench grinder for the deburring wheel, and the bench buffer for the polishing wheels, but is obviously a more costly setup.
- 6″ x 1/4″ x 1/2″ fine deburring wheel (You might have to look around for this one. These aren’t very common)
- 6″ x 1/2″ x 1/2″ fine deburring wheel
- For polishing
- Sisal wheel – This is going to do the bulk of your polishing and should be used with the black polishing compound (you can also use brown and white compounds if you are patient enough)
- Polishing wheels – For final touches. Use with finer polishing compounds (i.e. red, green, blue)
- Wheel set (if you don’t want to buy separately)
- Polishing compounds
Note: when finding a bench grinder, the size of the grinder doesn’t matter. A 6″ or 8″ grinder will work, but be sure to match the wheel sizes to the grinder size! I recommend purchasing the bench grinder first, and then purchasing the wheels that will fit it. Yes, the materials are expensive, but all the materials listed above will last a long time. I have been using the same bench grinder and wheels for three years now, and expect to use them (wheels) for another year at least!
I’m trying to restore an old Ping brass L-blade I found in my grandfather’s garage. It’s probably not worth anything, but it will be a good one to begin learning with. I’ve watched your “how to remove nicks and dings” and “Sandblasting 101” videos. Thanks for those! I will probably get a bench grinder to begin the process.
3 questions:
1. With these brass putters will I need to do sandblasting? In your bench grinding video, that brass putter was looking pretty smooth and shiny.
2. I won’t be able to reach the cavity behind the putter face with the bench grinder very well. I guess there’s not really any nicks or dings there, but it sure looks old and has that greenish layer over the brass. Any tips?
3. Any tips on how to remove the shaft of these Ping putters with ball bearings?
Hey Ben,
That is a great putter to get started on! To answer your questions:
1. No, you shouldn’t need to do any sandblasting for that. Sandblasting (more specifically beadblasting) will make the metal have a “satin” finish and you will not get much shine. If you are looking for shine, you’ll just need to use a deburring wheel followed by a sisal wheel and finally a polishing wheel.
2. There is not a great way that I know of other than using a Dremel tool and some abrasive attachments like these.
3. Great question, and no, there is nothing that I have found that makes this easier. I use a lot of heat (propane torch) and a secure vise with heat resistant gloves and just twist is hard. It might take a while, but you will eventually be able to get it out!
Great article! I don’t have a bench grinder but I have a Dremel tool, can you recommend a Dremel attachment to use instead of the deburring wheel?
Unfortunately, a Dremel tool is not going to be sufficient for this process. There are some “deburring” Dremel attachments , but I only use these for small, tight areas that the deburring wheel cannot get to.
Dude, I’m super stoked on your videos and blog post for refurbishing putters!
got me motivated to just go for it.
i have a couple questions
for the deburring wheels which density do you prefer ?
soft ? medium? hard?
also, i have a couple scotty camerons i would love to work on but am a little nervous on which deburring wheels to use?
and im not to sure on how to strip all of the nickel plating off of the carbon steel scotties.
any recommendations?
Brandon – I like the soft, or “fine grit” deburring wheels. Anything more and you will begin to lose too much metal from your putter and make the putter unusable. I would not worry about stripping the Nickel Plating off the carbon steel Scotties as the deburring wheel should do most of that work.
Hey bud can you link the buffing wheels and the compound?
Sure thing! Added.
Hello,
I have Mizuno MP4 irons, which have the shiny chrome finish. I want to remove quite a lot of bag chatter and scratches from the clubs and there are also some dinks in the faces of the clubs.
How would I go about this with these clubs specifically? They are obviously in this chrome finish and I have no knowledge of what to do? I have been told about scotch brite pads, would they work on this sort of club?
Any help or guidance would be appreciated.
Kind Regards,
Andy Collins
That wheel on the left looks wider than 1/2″ (maybe 1″?) I can’t find one that size with a 1/2″ arbor – where did you find yours? Thanks!
I bought mine off Ebay a while ago, so unfortunately, I cannot find it and link to it. This should get the job done though.
Andy–Unfortunately, there is no quick fix here. Irons are tough to refinish primarily because of the platings (usually Chrome and Nickel). If you want a rust-free, professional refinish, you would have to chemically strip the platings, remove the nicks and dings, and then re-plate them. This is a long process, but could definitely be a fun project! I would checkout Caswell Metals for kits to help remove and re-apply the platings.
Zach,
I’m in a similar situation as Andy. I have some old Callaway X-20 irons with chrome plating that I prefer not to replace at this time and instead would like to refurbish. I’ve looked into DIY and professional solutions. It’s not cost effective to pay someone to professionally rechrome the clubs; the cost would run upwards of $600 for a set so I’d obviously be better off putting that money toward a new set (which I may be resigned to…). In your video you used both a deburring wheel, as well as the sisal/polishing wheels which appear to be much softer and less abrasive. Would one still run the risk of damaging the plating (rust and other effects) just by using the sisal and polishing wheels? Would it even be worth embarking in this effort without using the deburring wheel? Assume quite a few nicks and dings.
I wish I could offer a better solution, but without that deburring wheel, those blemishes aren’t going to come out. And once you use the deburring wheel, you will have removed parts of the plating and are subjecting the clubs to rust.
Hey Zach, how do you restore a matte finish on driver or wood? Any suggestions on products to use? Thanks!
Automotive paint is a good option. You can tape off the areas of the wood that you don’t want with blue painters tape (and a utility knife for precision cuts) and then spray. Be sure to measure the swing weight of the club beforehand though because adding this paint will increase it and you may (but not always) need to adjust that.
Hey Zach. Thanks for the tutorials. I picked up a Studio Select that’s in pretty decent shape. I’d just like to restore the original Satin finish and give it a fresh paint fill. With the Scotty, do you do all the steps on the grinding wheel on the face as well?
Great question–I would recommend AGAINST touching the face. The milling on the face will get grinded off if you do, which will require you to find someone with a CNC machine to re-mill it.
Is it possible to use aluminum oxide tools rather than the silicone carbide for removing dings? Thanks!
I have never tried, but if you do, please be sure to share it here for others!