
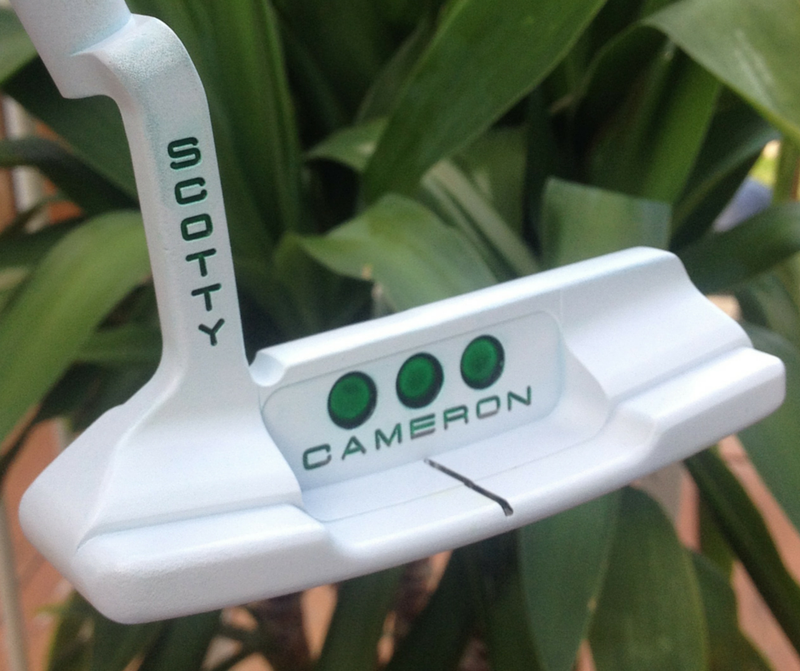
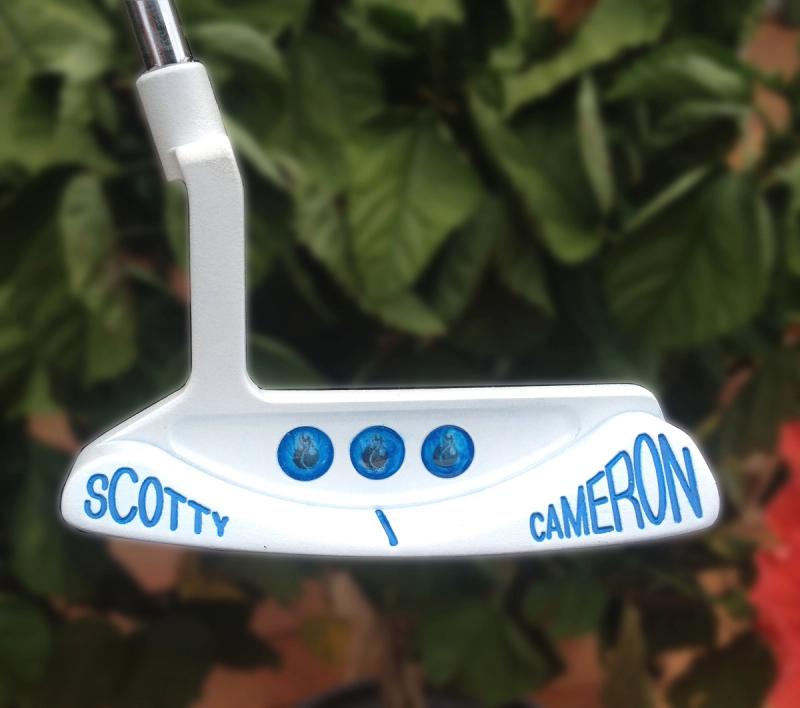
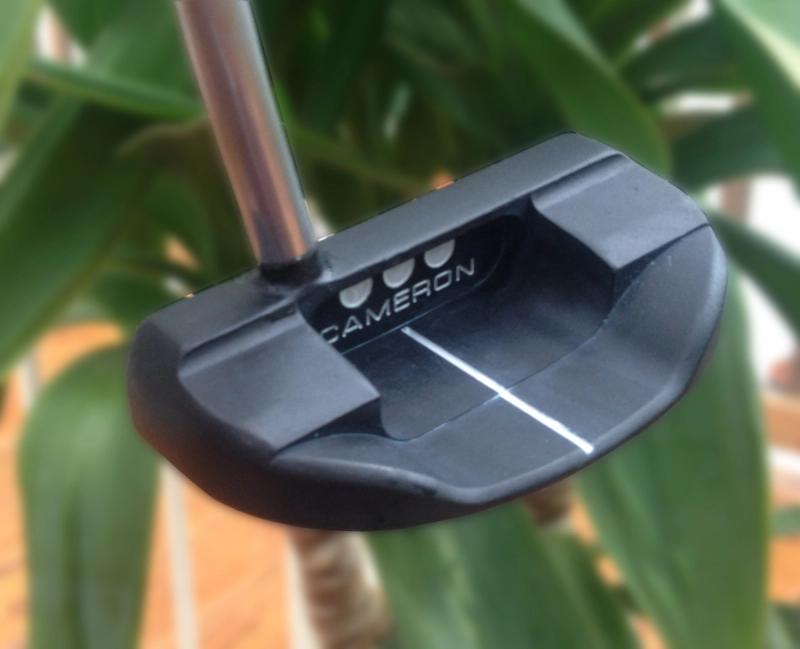
This is by far the most durable finish to do for any type of putter. I love doing this finish, and can't recommend it enough. It took me ages to find the right product for the job, so I am really excited to share it with you! There are several materials you will need for this tutorial, and you must follow a specific, sequential process in order to achieve a finish similar to the pictures you've seen on this site.


Before you start, your putter must be:
- Removed from shaft
- All nicks and dings removed
- Paint-fill removed (100% of it! - otherwise it will bleed through the polymer and make a sloppy finish)
- Sandblasted with 180 grit aluminum oxide
- Washed with dish soap and water
Materials Needed
- Stainless Steel Hanging Wire
- Acetone
- Badger Single Action Airbrush
- Airbrush Compressor Adaptor
- Air Brush Hose
- Compressor (see sandblasting 101)
- Oven (You can use your home oven. There are no toxic fumes emitted, just a weird smell)
- Moly Resin OR Cerakote (If you use Cerakote, you will have to learn the proper procedure on your own, as I don't use this)
- Extra Airbrush Jars (for holding different colors of Moly Resin - optional)
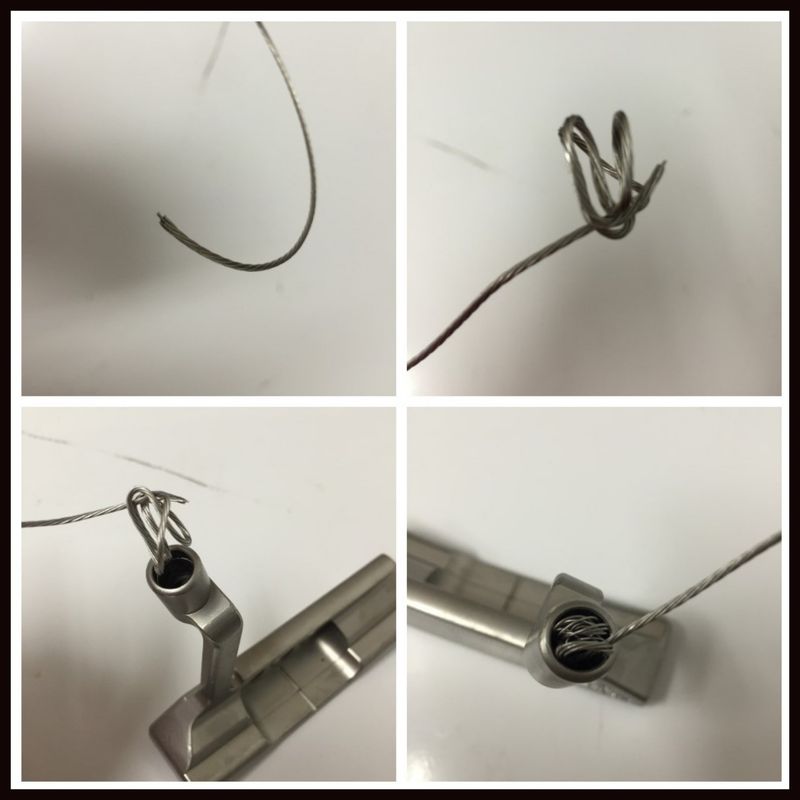
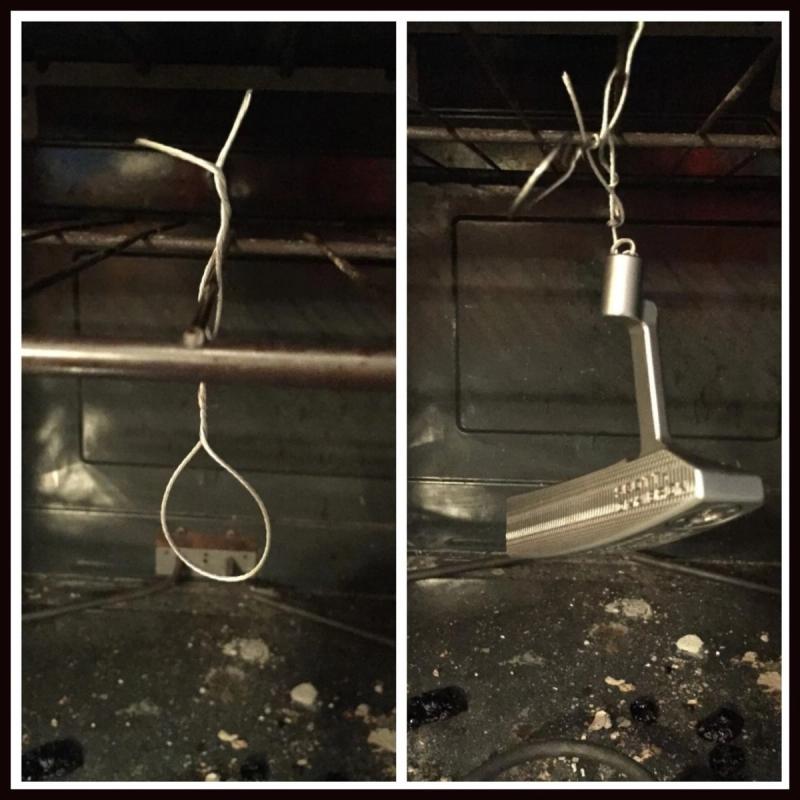
Step 1- Attach Stainless Steel Hanging Wire to Putter
Step 2- Wash the putter with Acetone
Step 3- Heat the putter at 300 degrees for 5 minutes
Step 4- Airbrush the Moly Resin on the putter
This is the toughest part, and might require a bit of practice. The key is to get just the right combination of pressure, distance from the airbrush to the putter, and the amount of time you spray each area of the putter. If you apply too much Moly Resin to one area, the entire putter is ruined, as drips look terrible after the Resin is cured.
You want to apply as little Moly Resin as possible while still getting a dark black (or whatever color you are using) finish. After you feel satisfied with the finish, return the putter to the oven, and hang it back under the rack. Let the putter heat for 1 hour at 305 degrees. When the hour is up, just turn off the oven, and let the putter cool.
If you mess up the airbrush application (say you apply too much Moly Resin to one area of the putter and it starts dripping), you can wash the putter in acetone, and the polymer will come off.
I hate doing this because it wastes so much acetone, and is extremely messy, so if I mess up, I will cure the polymer for an hour as instructed, and then grind off the finish with the deburring wheel and start all over. After one or two times of messing this up, you will know what I mean when I say it is tedious and frustrating. Hopefully with my instruction, you won't have to mess up so many times like I did when I was just starting!
In the video below, I show you how to use your air brush, and how to apply the Moly Resin correctly. I don't go through all of the steps in detail during the video, so before watching, read through the following steps. It is important that everything is done in order!