
If you like fire, or artistry in general, this is the tutorial for you! In this post, I will be teaching you two different "torching" techniques.

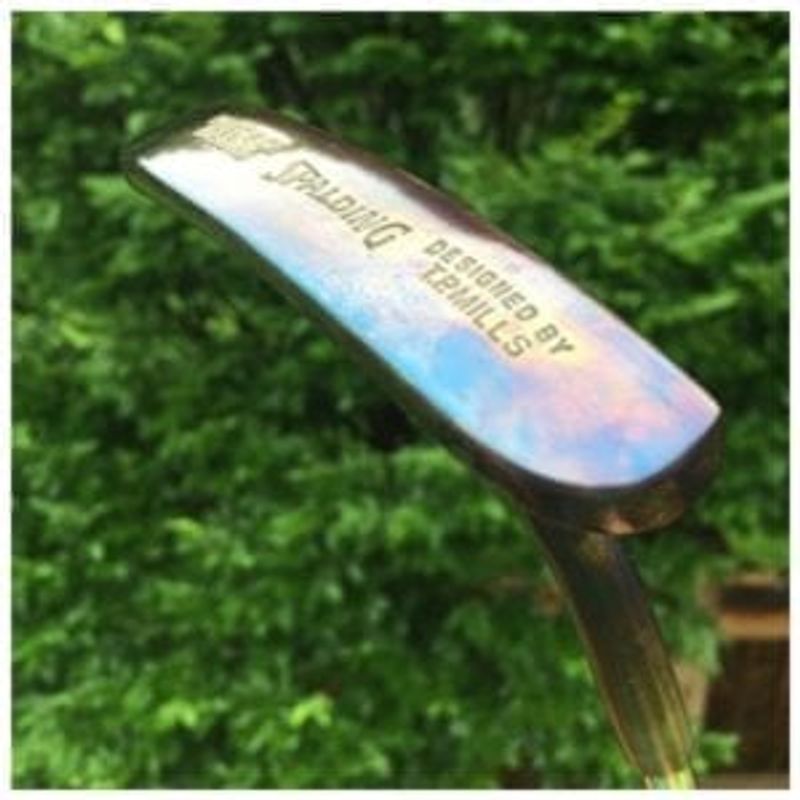
First, I will be demonstrating step by step how to "Torch Finish" a carbon steel putter (be sure and read the differences between carbon and stainless steel here). Although this technique can be done with several different models of putters, I enjoy doing it on the T.P. Mills line of putters because they seem to work best with this finish.
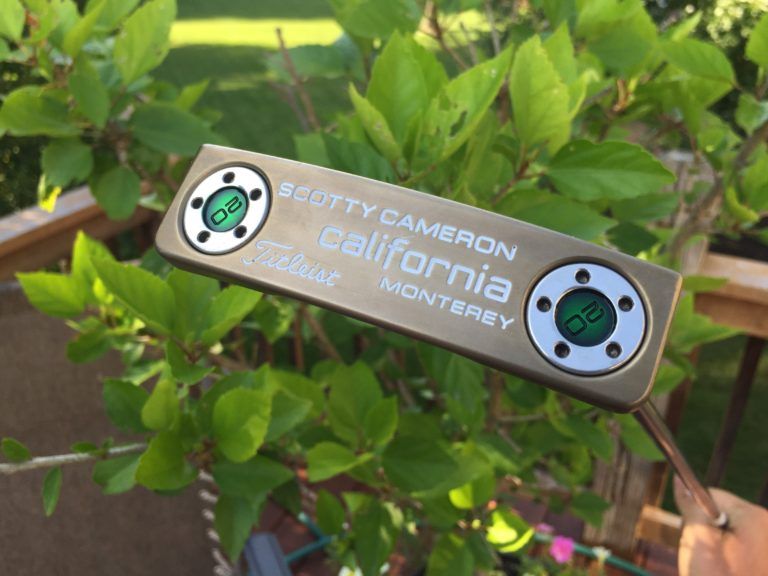
Second, I will be teaching you how to "Oven Torch" a Stainless Steel putter. This is going to be very similar to the first technique with the following two exceptions:
- We won't be dipping it in oil. We will be letting it cool naturally
- We will be putting the putter in the oven BEFORE using the handheld torch to ensure a more even finish.
Tutorial #1: "Oil Quenched Torching"
Before Starting This Tutorial, Your Putter Must
Materials Needed
- Propane gas torch and torch head
- Acetone and Paper Towels
- Oil Mixture (mix thoroughly)
- 2/3 by volume 2-stroke/cycle motor oil (blue dye)
- 1/3 by volume Liquid Wrench Oil (Wd-40 works, find something that can be poured rather than in an aerosol can)
- Bench Vise (Or something to secure the putter with)
- Rubber Vise Clamp (if using the shaft to secure the putter)
Have lots of patience with this. Torch finishing a putter requires practice, and you most likely won't get it the first time around. If you mess up, it is fairly painless to restart. You can either go back and repeat Part 2, or you can soak the putter head in Coca Cola/CLR for a few minutes. Soaking the putter in these liquids will remove most, if not all of the finish. After you have soaked the putter in these, you might have to polish the putter head on the sisal and cloth wheels for a short amount of time. Personally, I just re-do Part 2 altogether. I think it is the quickest way to restart.
Carbon Steel Temperature/Color Chart
| Fahrenheit | Color | Celsius |
|---|---|---|
| 800 F | Dark Grey | 427 C |
| 575 F | Blue | 302 C |
| 540 F | Dark Purple | 282 C |
| 520 F | Purple | 271 C |
| 500 F | Brown/Purple | 260 C |
| 480 F | Brown | 249 C |
| 465 F | Dark Straw | 241 C |
| 445 F | Light Straw | 229 C |
| 390 F | Faint Straw | 199 C |
Tutorial #2: "Oven Torching"
Before You Start, Your Putter Must:
- Be removed from it's shaft
- Have all nicks and dings removed
- Beadblasted with 80 Grit Glass Beads
- Be cleaned with dish soap and water
- Rinsed with Acetone
Materials Needed
- Stainless Steel Hanging Wire
- Oven
- Dish Soap
- Acetone
- Propane Torch and Torch Head
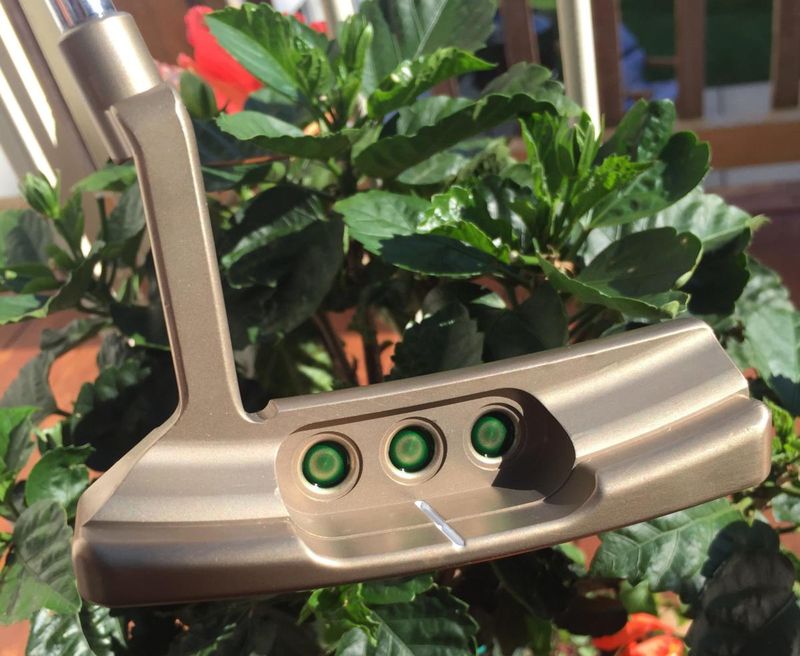
The first step when torching a Stainless Steel putter is to heat it in the oven at 500 degrees for 1.5 hours. I use stainless steel picture hanging wire to hang it by the oven rack. This allows the putter to be heated evenly. I use a screwdriver to push the wire into the putter head (see picture below).
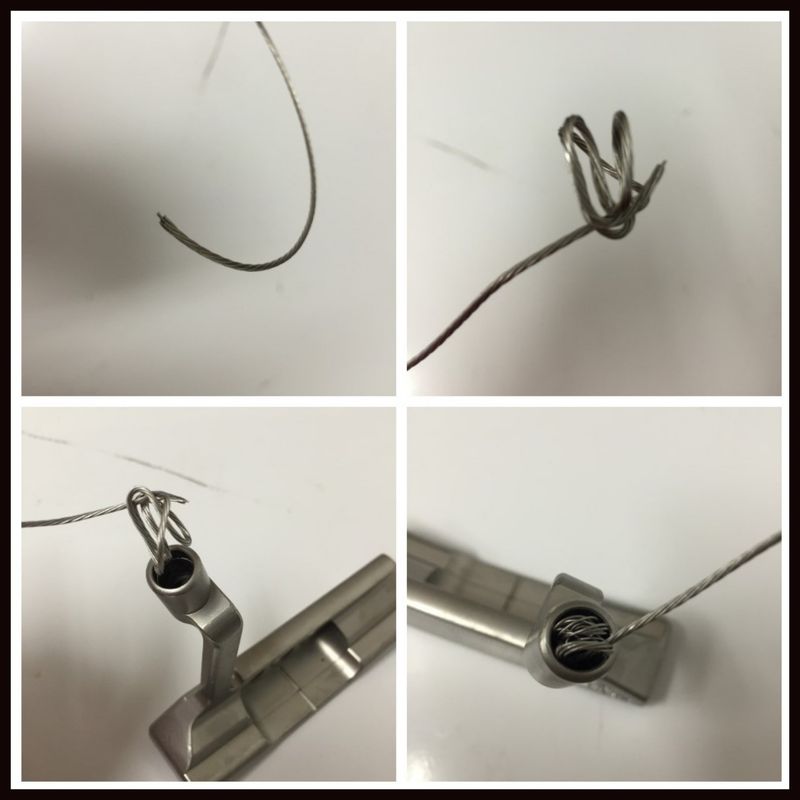
Before doing anything further, wash the putter thoroughly with dish soap and water, and then do a final rinse with acetone. Now, use another piece of stainless steel hanging wire and attach it to an oven rack (be sure not to touch it-you don't want the oils from your hand on the metal). Then, twist the two pieces together to freely hang the putter in the oven. Once the putter is secure, begin heating.
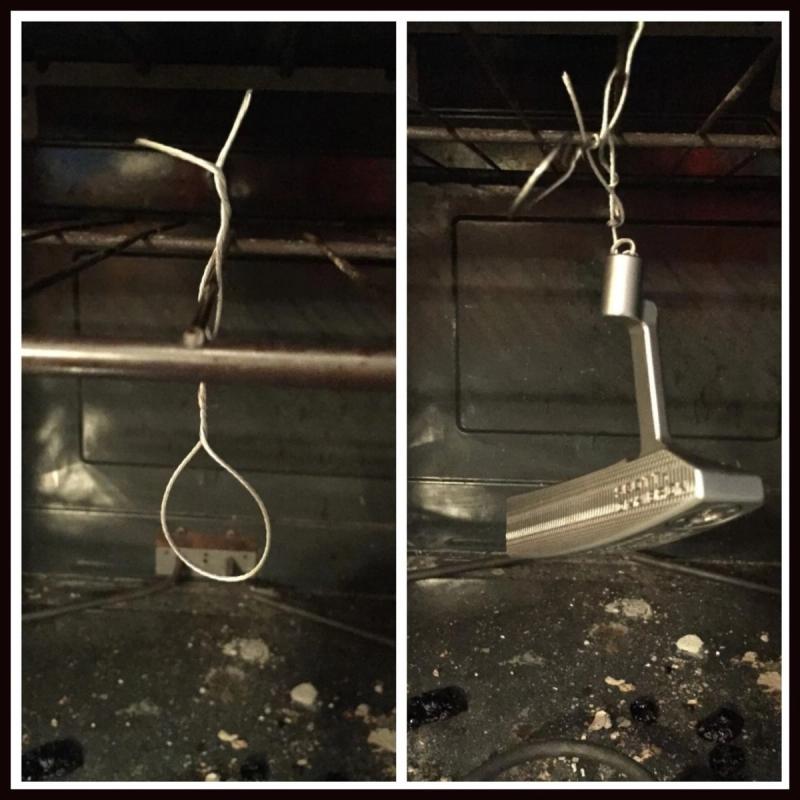
After heating the putter for 1.5 hours, it is time to use the propane torch to heat the putter further. This process is exactly the same as shown in the video above in this tutorial.
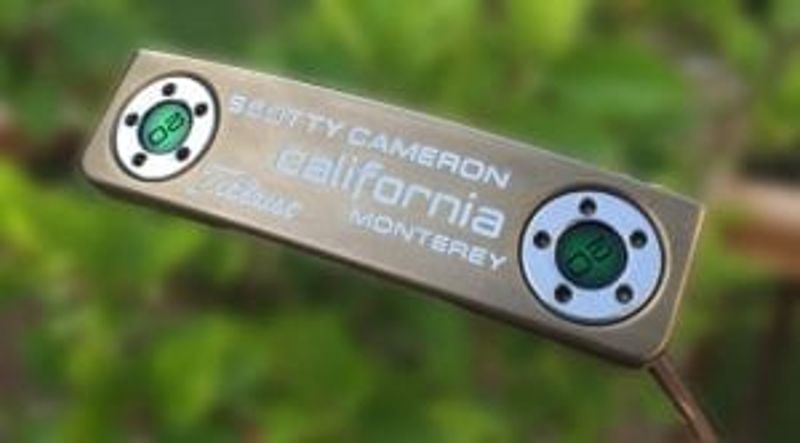
Since the putter is already attached to the stainless steel hanging wire, I will either hold it from the wire, or hang it in an appropriate area to torch. The torching process should only take 5-10 minutes. Be sure to evenly heat the putter. Stop when you see it turning the light brown/wheat color.
As stated previously, you will NOT dip the putter in the oil mixture. Let it cool off in open air. Let it hang so that nothing is touching it for about an hour. Once you've waited this long, you can run cold water over it.
After it has cooled off, give it a nice paint-fill and you're good to go!