Last updated Nov 06, 2023
Golf Putter Refinishing: Basic Satin Finish
Here is a basic way to refinish any putter that looks great every time!

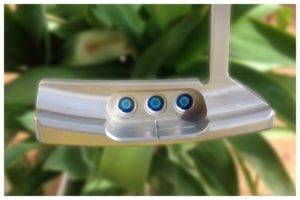
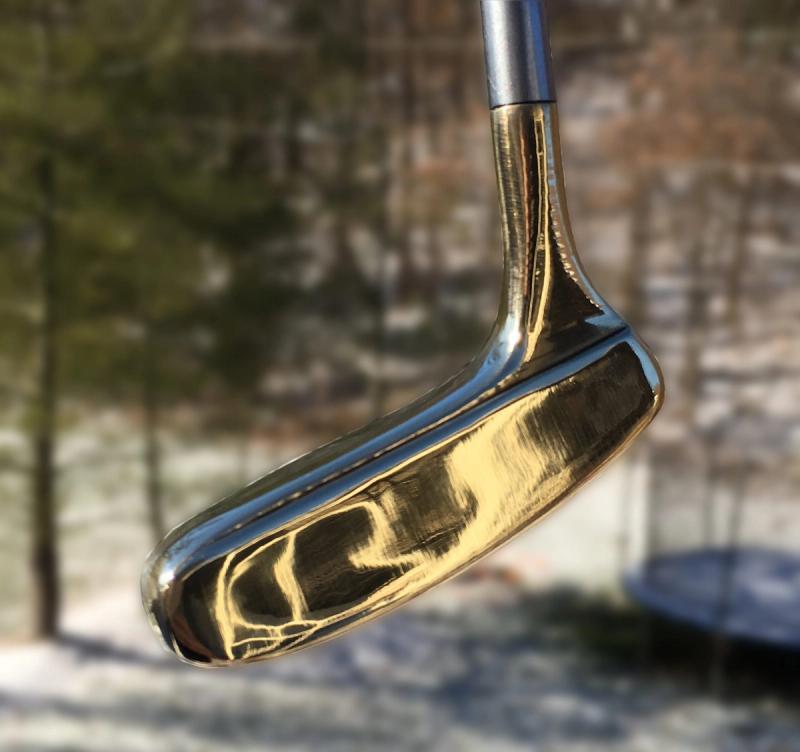
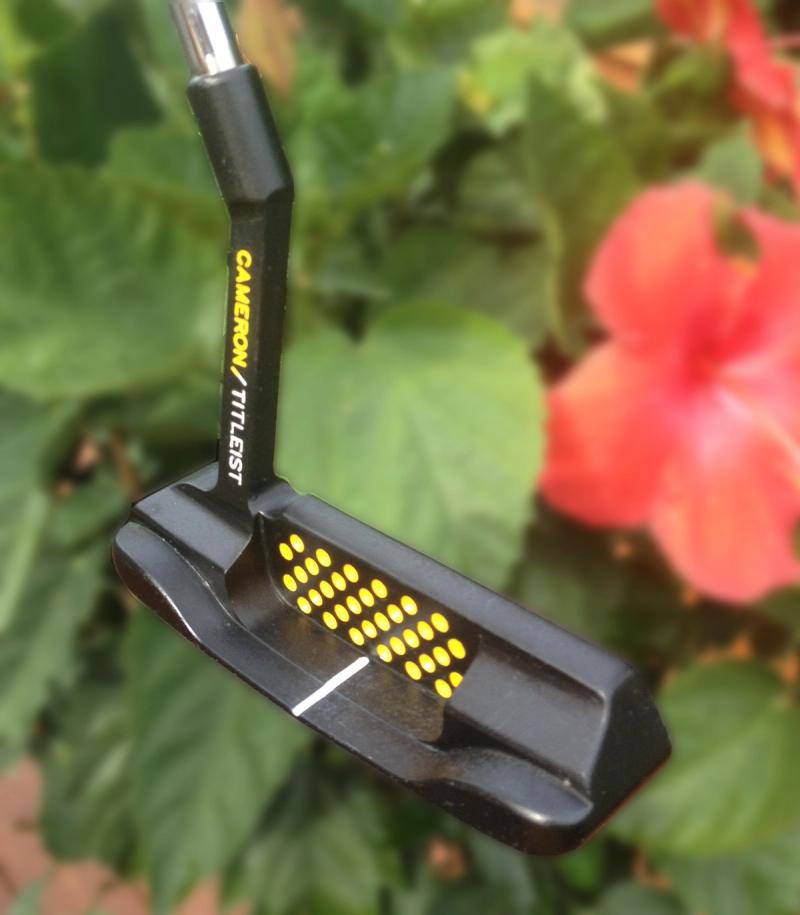
A "satin" finish is the prerequisite for many of the other finishes here on the site. Call it the "fundamentals" of putter refinishing. It is the process of removing blemishes from a putter and beadblasting it back to a "factory" looking finish.
While simple, I love this finish for stainless steel Scotty Cameron putters because they won't rust and it achieves that original "Scotty" look.
This is because the "Satin" Finish, otherwise known as the "factory" finish for many putters is simply the process of the following 5 steps:
- Remove the clubhead from the shaft
- Remove the Nicks and Dings from the putter
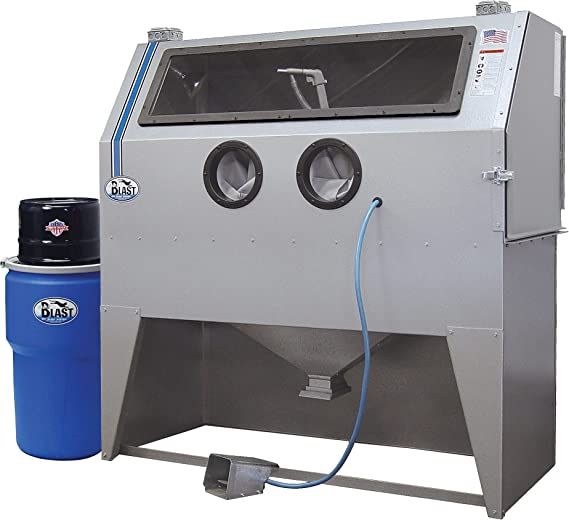
- Beadblast with 80 grit glass beads (this is the same process as sandblasting, but with a different blasting media - see the sandblasting/beadblasting 101 tutorial for more help)
- Give it a nice looking paintfill
- Install the shaft
And that's it! This is an extremely powerful technique that doesn't require a whole lot of time or effort, but looks fantastic.
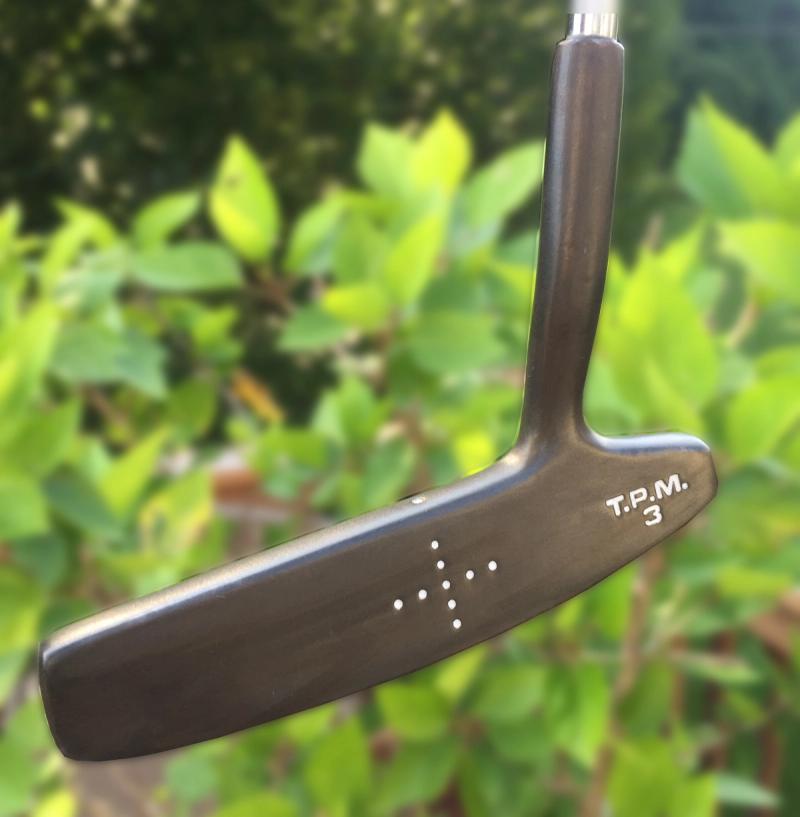
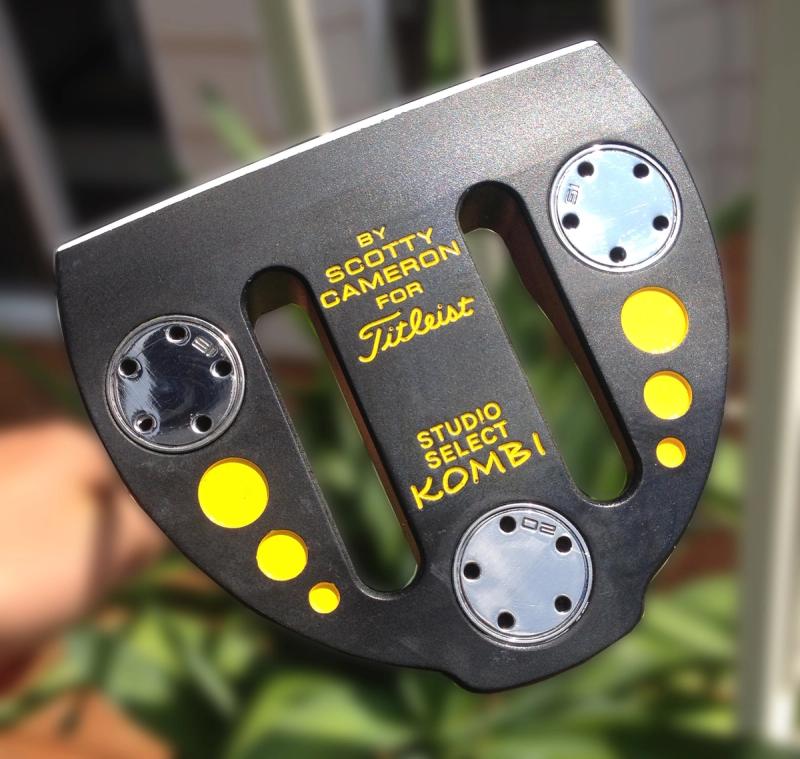
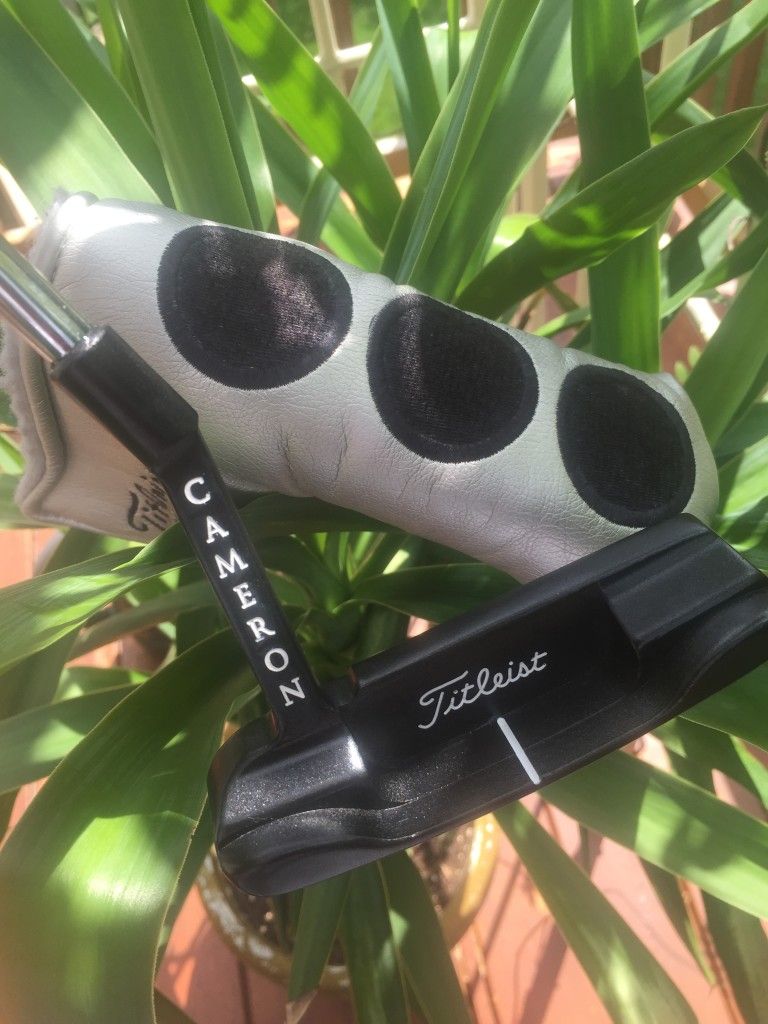
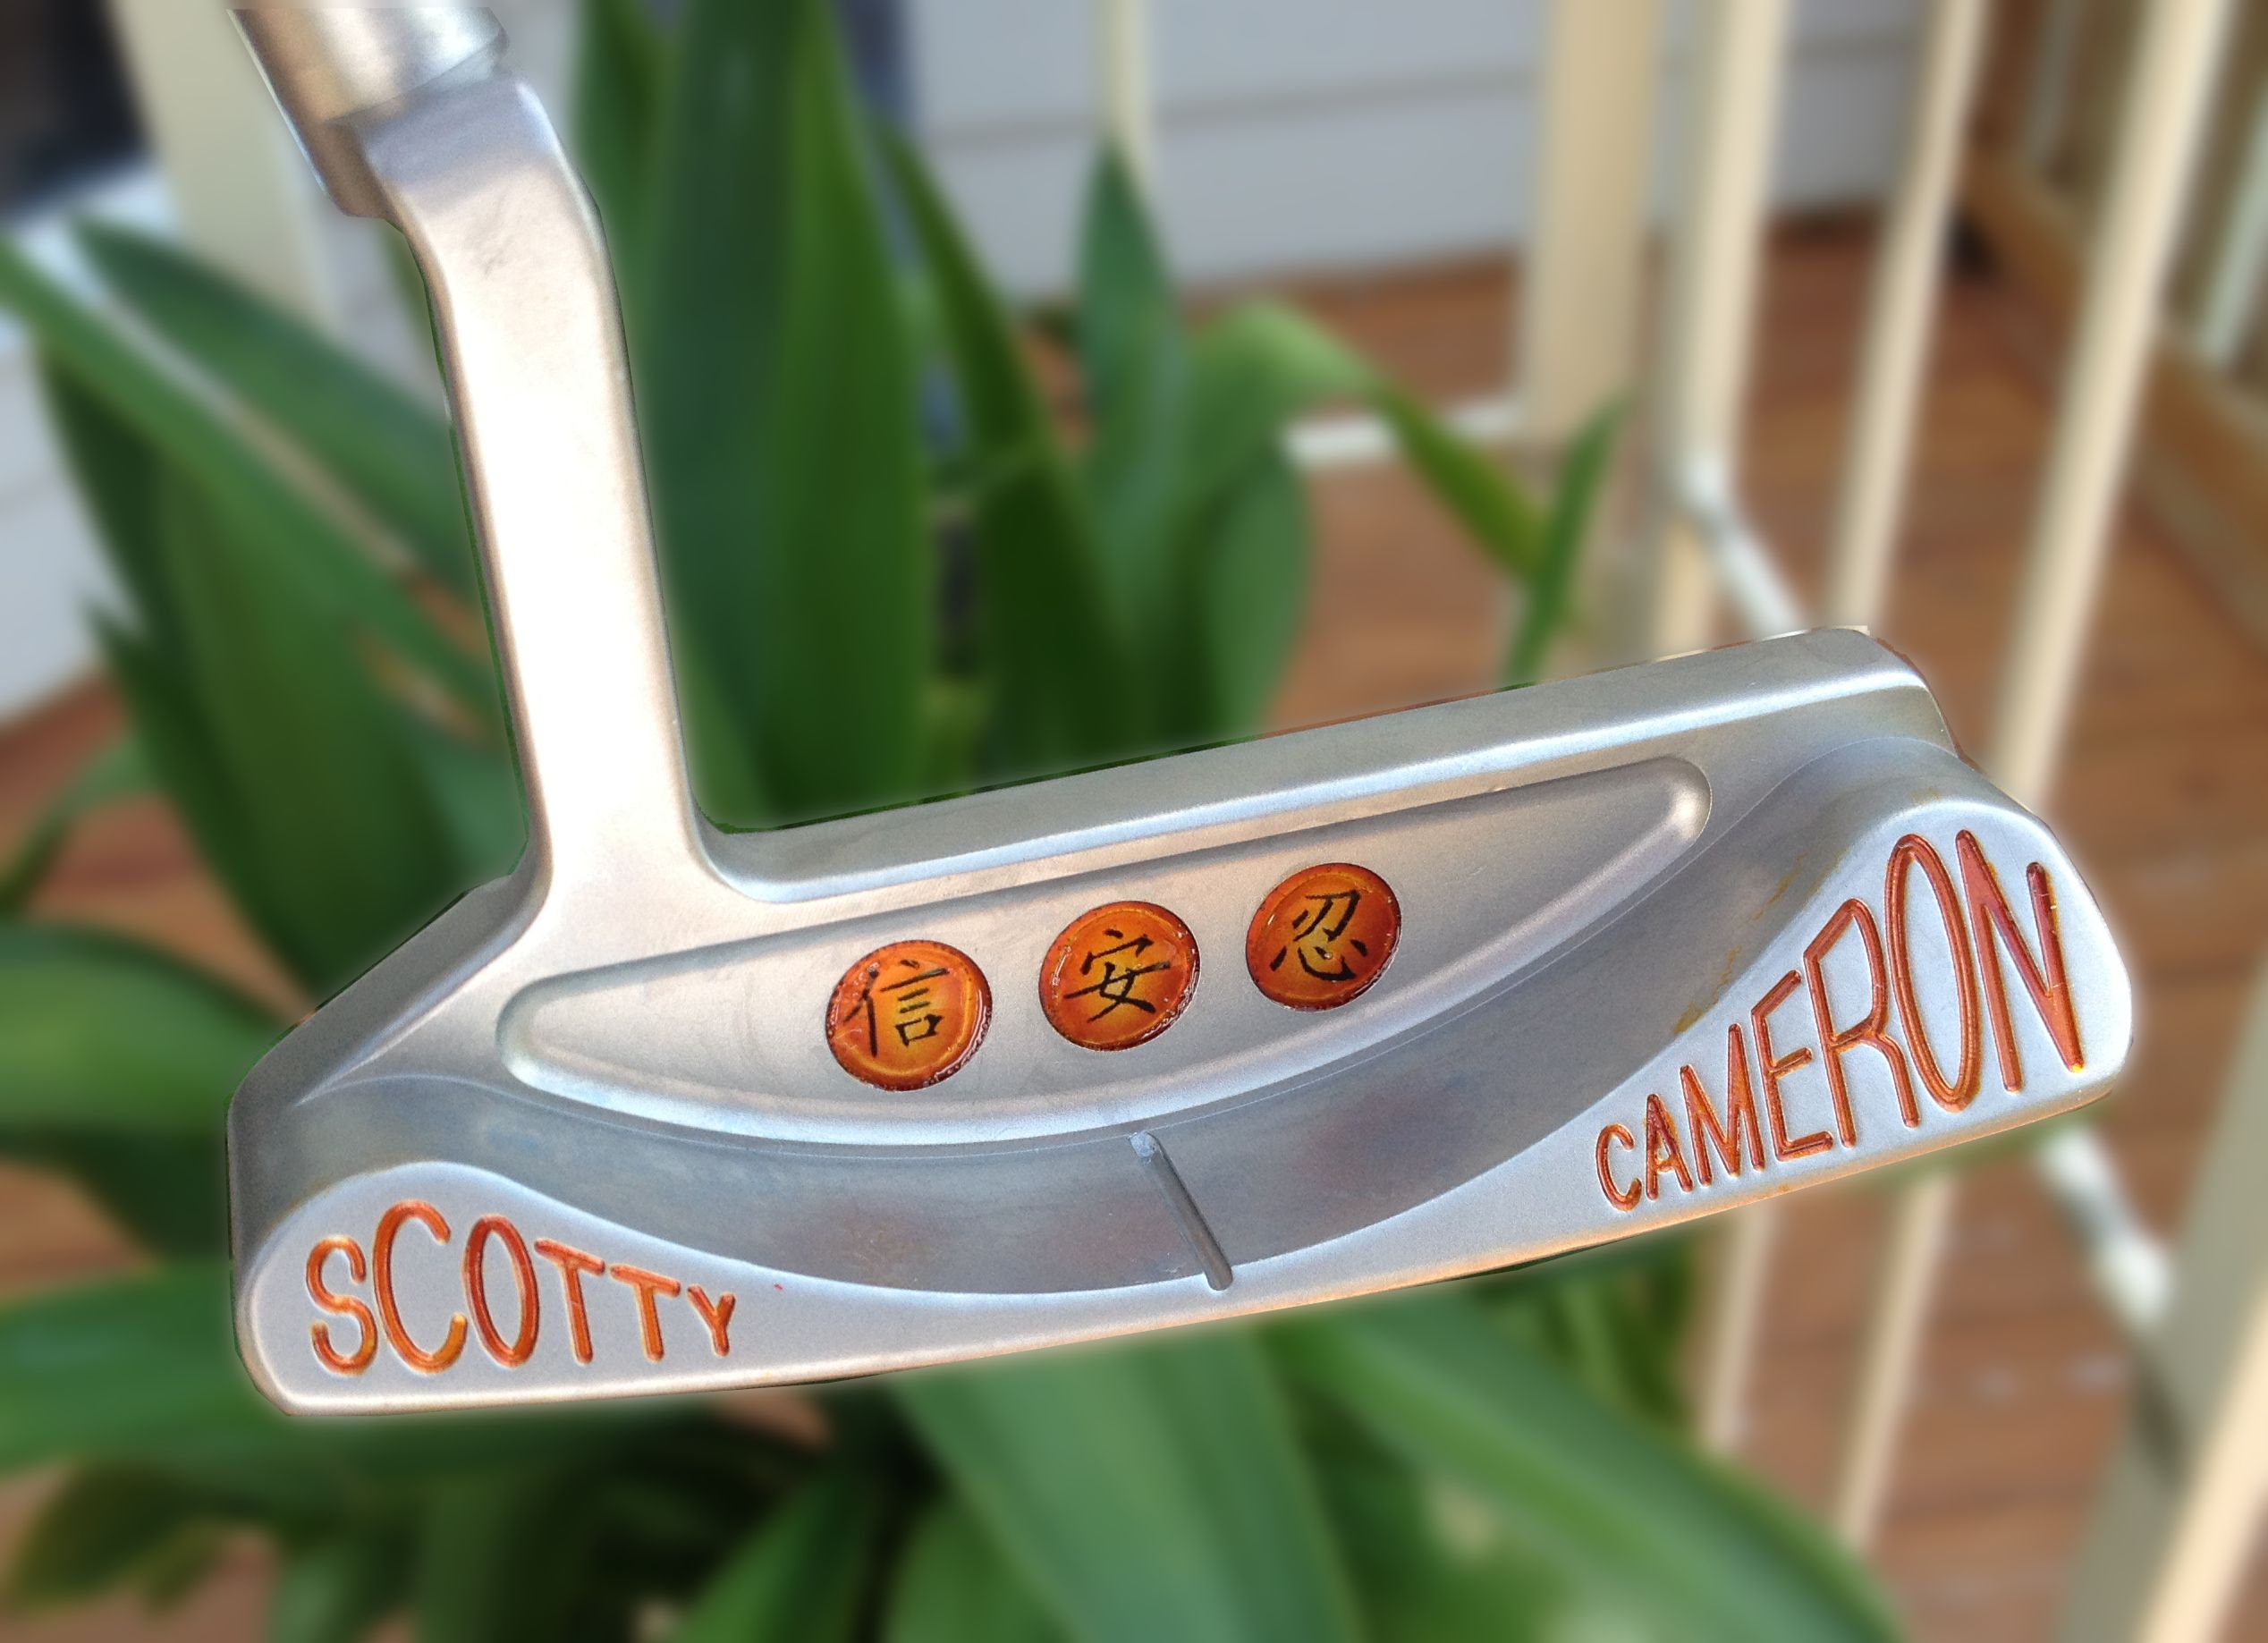
The following photos are examples of what you can achieve with this "satin" finish: