topic: DIY Projects
Explore everything tagged under the topic "DIY Projects" at The DIY Golfer
Showing 1 - 10 of 12 posts
Next Page![How to Refinish a Stainless Steel Putter in "Black Oxide" cover image](https://cdn.sanity.io/images/2htn0fq6/production/adb4a4523f63de9f0ccf64c066ef5bbbe27c4135-1991x2277.jpg?w=800&auto=format&fit=max)
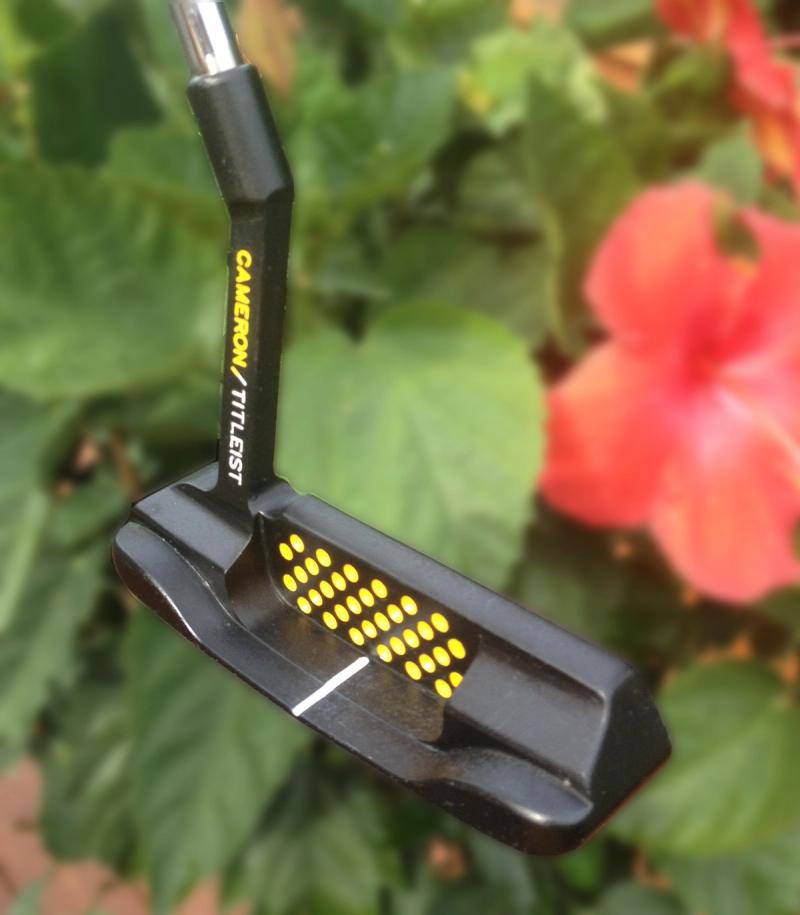
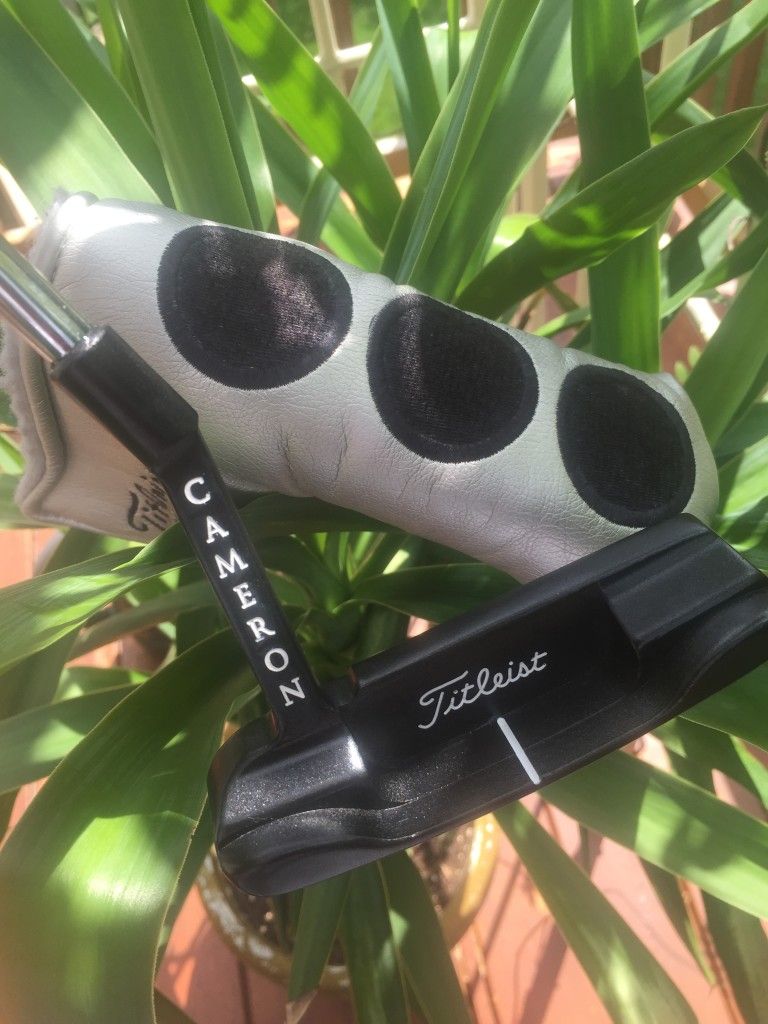
If you want a fresh new look for your Scotty Cameron putter, look no further than a Black Oxide finish.
![How to do a Black Oxide Finish on a Carbon Steel Putter cover image](https://cdn.sanity.io/images/2htn0fq6/production/782f62cee08a9686b846acb0c8d06f5356ea4768-2216x2264.jpg?w=800&auto=format&fit=max)
One of the best looking refinishes that you can do is the classic black oxide finish. In this tutorial, I will show you how to do this simple finish.
![Scotty Cameron Logo Paint Fill Tutorial cover image](https://cdn.sanity.io/images/2htn0fq6/production/9a125b40039edd559250f33f5921e787b35d5c4c-512x512.jpg?w=800&auto=format&fit=max)
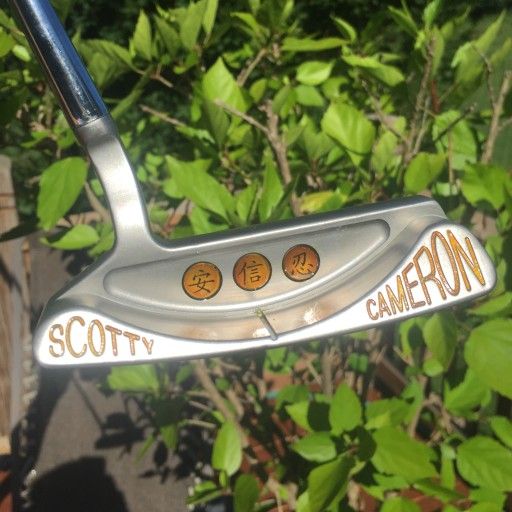
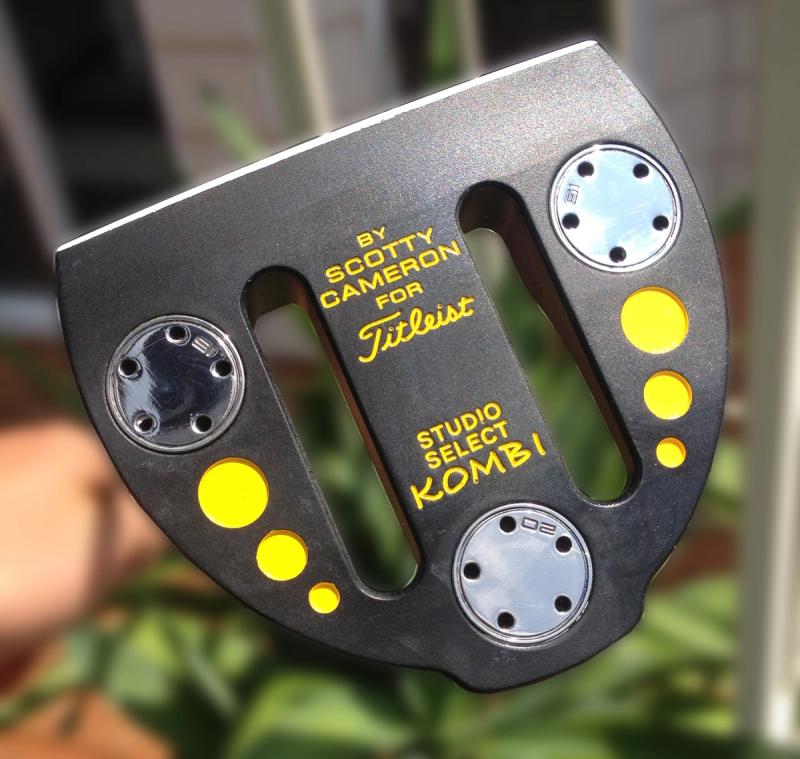
The logo paintfill is one of my favorites because it allows you to add any custom design to the Cherry Dots of a Scotty Cameron putter!
![Vintage Putter Restoration: Mirror-Like Shine! cover image](https://cdn.sanity.io/images/2htn0fq6/production/3835d481b34f9f5b55f900c8adfa4fb0a5a6f90e-2136x2008.jpg?w=800&auto=format&fit=max)
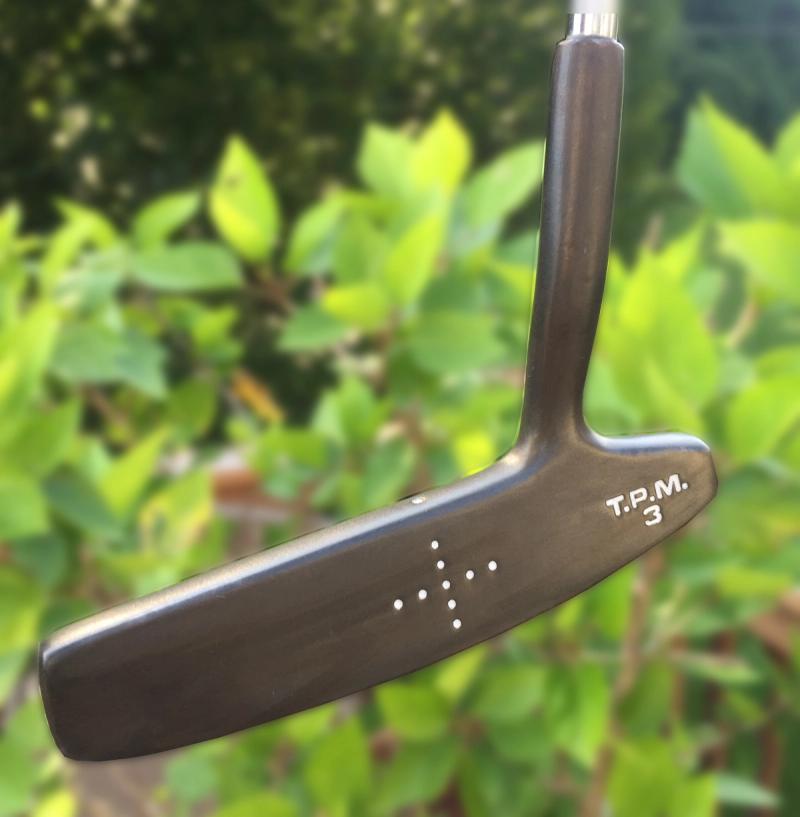
Restoring a vintage putter is a great way to add to the putter collection, decorate a home, or even impress your friends by gaming it on the course!
![How to Re-Finish a Scotty Cameron Headcover cover image](https://cdn.sanity.io/images/2htn0fq6/production/127964a2de79494a9ba1adf344a0c72b29edb19c-768x1024.jpg?w=800&auto=format&fit=max)
Although this finish does not work with most headcovers, if you have a certain type of Scotty Cameron headcover, you can match it to the colors of your putter!
![Putter Refinishing: How to do a Polymer Finish cover image](https://cdn.sanity.io/images/2htn0fq6/production/47daf8461cd7586f88733c9a6ca51e796d07bfd2-2057x1952.jpg?w=800&auto=format&fit=max)
If you're looking for a durable way to protect your putter from rust and make it look beautiful at the same time, this is your perfect finish!
![How to Re-Grip a Golf Club (Extended Tutorial) cover image](https://cdn.sanity.io/images/2htn0fq6/production/678d896ef0ee91e138d4eb01e572472c70038fb7-5184x3456.jpg?w=800&auto=format&fit=max)
In this tutorial, I will show you how to re-grip your golf clubs from the comfort of your own home. It's a lot easier than you might think!
![How to Sandblast Golf Clubs for a Professional Finish cover image](https://cdn.sanity.io/images/2htn0fq6/production/59a46487f5160c89f0cd0cf729c6c9a7df097d5d-569x520.jpg?w=800&auto=format&fit=max)
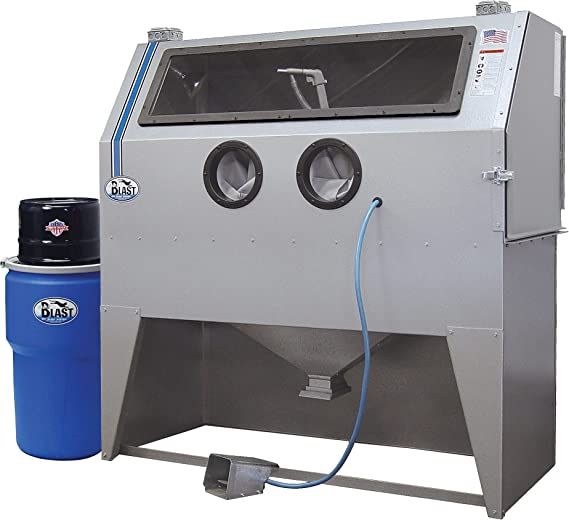
The quickest way to achieve a professional looking finish on a putter or iron that you have restored is by hitting it with the beadblaster for a few seconds.
![Golf Club Paint Fill: The Basics cover image](https://cdn.sanity.io/images/2htn0fq6/production/dc998a53b28105babf87cfcebe6d3d7edf4910ae-2316x2195.jpg?w=800&auto=format&fit=max)
The quickest and easiest way to customize your golf clubs is by painting the text on them. I’ll show you some of my favorite techniques for doing so.
![How to "Oven Torch" and "Oil Quench Torch" a Putter cover image](https://cdn.sanity.io/images/2htn0fq6/production/5d0838b20c359ef8950a8329a13f82b1e7aa3fab-768x576.jpg?w=800&auto=format&fit=max)
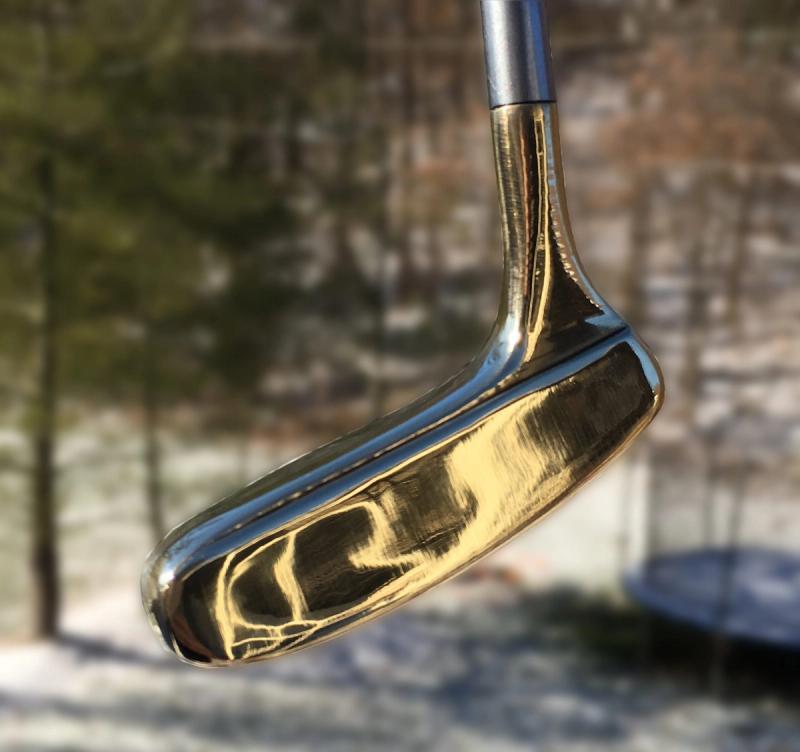
Applying intense heat to a putter for a prolonged period of time can help you achieve a beautiful "oil can" finish and protect the club from rust.
Showing 1 - 10 of 12 posts
Next Page